Happy Labor Day!
I’m at home today, but still working hard. I’ll be teaching a lecture and lab at Carroll University this semester, and I still have a TON of prep work to do. Even so, I thought I’d take a much needed break and show you some cool art work I made last week. I’ll even give you instructions on how to paint these all by yourself!
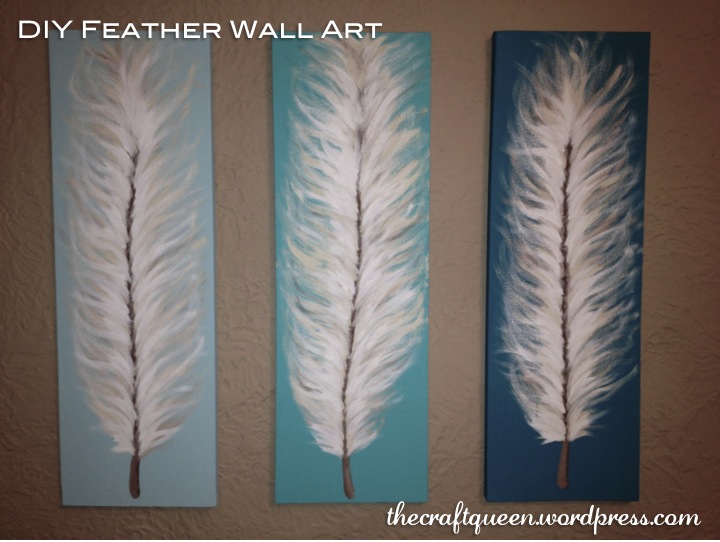
DIY Feather Wall Art
Materials:
canvas
acrylic paint
2-3 paintbrushes
paper plate (to hold paint)
plastic drop cloth (I used a trash bag laid out flat)
measuring tape
level
hanging method of your choice (I used Command strips)
Directions:
1. Unwrap your canvas and place it in the middle of the plastic drop cloth (i.e. garbage bag). This project would ideally go a lot smoother with an easel, but I don’t have one…so you do what ya gotta do. I purchased my canvases from Joann on sale for $5/each. Scoreeeeee.

8″ x 24″ canvas, $5 (sale price)
2. Using your acrylic paint color of choice and a wide paintbrush, coat the entire canvas. Don’t forget about the sides! This will be your background color, so pick anything your little heart desires. I did three canvases in varying shades of blue: Spa Blue, Bahama Blue, and Desert Turquoise.

Americana acrylic paint, $1.39/each

3. Allow the canvas to dry completely. Since we’re using acrylic paint, this will take about 30 minutes or so.
4. Now come the feathers. It’s best to use three different shades in the same color family. This will add dimension to your feathers and give them a realistic quality. I used Cool White, Bleached Sand and Mississippi Mud.

I think the feathers would look great in varying shades of grays or blues as well.
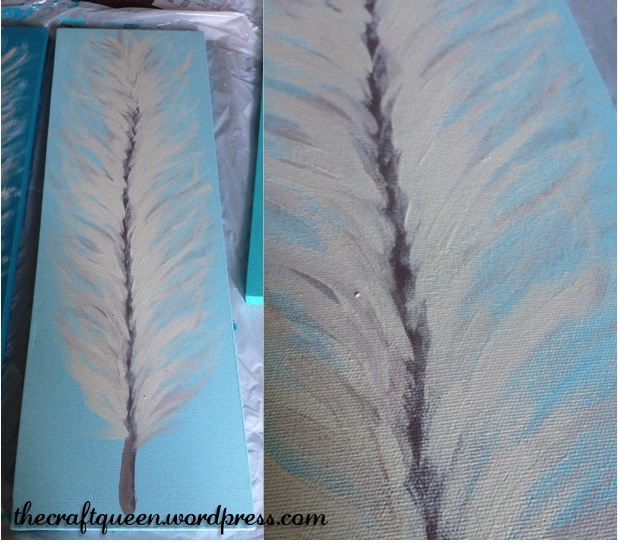
The base of the feather comes first, and you’ll want to use the darkest of the three shades. Using a small brush, create a line down the center of the canvas. Don’t worry about trying to make the line straight; it will actually look much better if there is a slight curve. Once you have the first line drawn, slightly thicken the bottom 2″ of the line (this will be the “stalk” of the feather). Finish off the base by using short, quick strokes to fan out the line (see closeup, far right). Feel free to add extra paint to your brush as needed.

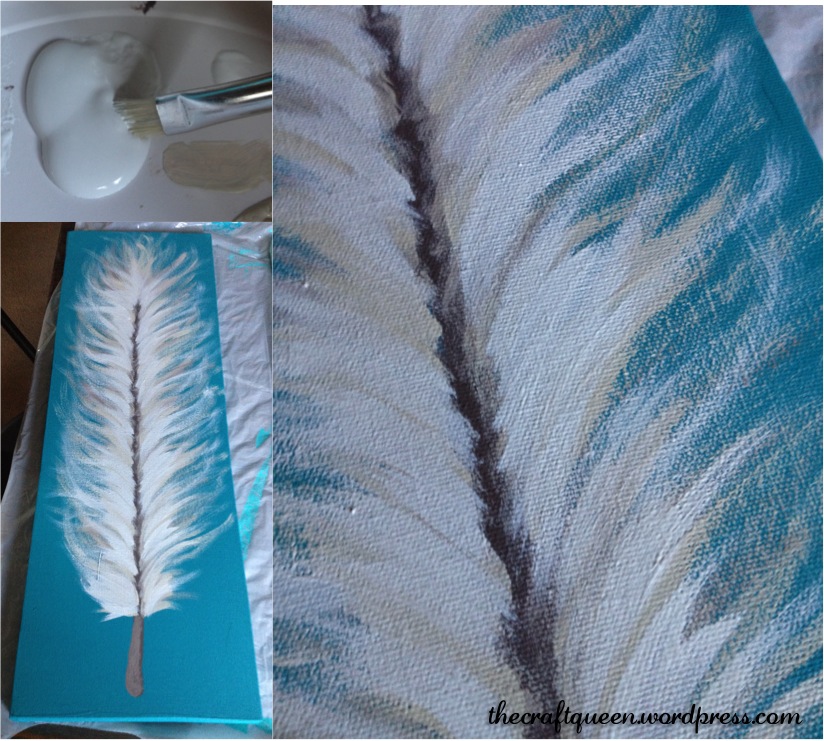
5. Using the same brush, add in the medium color to the feather, starting near the center of the “stalk” and working your way out and up. You want these strokes to be much longer, with a slight curve upwards. I added the dark brown to my brush here and there to blend the colors and add depth. You want both sides of the feather to ALMOST touch in the middle, making sure to let some of the darkest shade to peak through along the center line.
6. Finally, add in the lightest color of the bunch (Cool White in this case). Use this color a bit more sparingly than the medium shade, but the stroke pattern is pretty much the same as the last step. Again, I added the medium shade to my brush every now and then to blend the colors a bit.
7. Let your canvas dry completely, and admire your work! Feel free to sign your art. 🙂

Hang them using your method of choice. I used Command strips since these were so lightweight…or should I say “light as a feather”? Yuk yuk yuk.
All in all, this project cost me about $25. It would have been closer to $20 if I already had the brushes. Still a better deal than buying something similar from a big box store!
I love how they turned out, and they look so pretty hanging on our wall.
I hope I’ve inspired you to create some DIY wall art of your own! Remember, it’s just paint…nothing to be afraid of! If you don’t like the results or feel like you’ve made too many “mistakes”, you can always paint over them with your base color and start over.
XO,
Gabriella
Remember to follow me to see all my latest posts, and don’t forget to share me with your friends!
Affiliate link:

I love these! I’ve been obsessed with feathers lately. I may try my hand at these!
LikeLike
Thanks, I saw your gold feathers, too! We’ll have to trade ideas. 🙂
LikeLike
Pingback: The Craft Queen | 35. Before and After: Thrift Store Prints